


Spring has sprung so make sure your creative side follows suit! Recruit the kiddos, get in the craft mood and hop to it!
Bunny Masks

All it takes is a few materials to turn boys (and girls) into bunnies. Relatively mess-free, all ages can create this bunny mask—even tiny tots.
Materials
- Cardboard Egg Carton
- Pipe Cleaners (various colors)
- Pom Poms
- 1 Sheet White Cardstock
- Quick Drying Glue
- Scissors
- Small Holepunch
- Thin Elastic String
Directions
1. Cut the egg crate into joined groups of 2 (for the cheeks)
2. Paint glue on the inside of each egg carton grouping
3. Make 4 small holes on each side; 3 on the middle edge for the pipe cleaners, and 1 on the top edge for the elastic
4. Use the white paper to cut long rectangles (for the teeth)
5. Thread the pipe cleaners through the holes
6. Use the glue to place the pom on as the nose
7. Use the glue to attach the teeth
8. Attach the elastic
9. Let dry for 10-15 minutes
10. Add some ears to perfect the look!
Golden Eggs
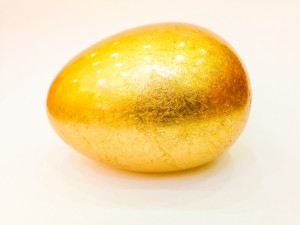
These golden eggs are pretty enough to make Veruka beg. They’re mistake proof and take traditional DIY-dyeing to a luxurious level. Here’s how to transform traditional food coloring into fancy foil:
Materials
- Egg Shells (real or faux)
- Spray Adhesive
- Metal Leaf (found in most craft stores)
- Small, Soft Bristled Paintbrush
- Washi Tape (optional)
Directions
1. Spray eggs with spray adhesive; let dry for 2 minutes
2. Apply metal leaf carefully by hand
3. Use your paintbrush to gently push the metal into place
4. If desired, create patterns with the Washi Tape. Use a strip before leafing and remove the tape after you’ve placed the gold.
Spring-Shaped Cookie Decorating
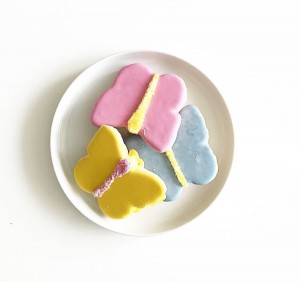
These cookies are (almost) too pretty to eat! Their sunny style pops thanks to pretty pastel patterns. And teeth love them too! The cookie batter is low in sugar and the icing sugar-free!
Ingredients
- Xylitol cookies (recipe here)
- 1 1/2 tablespoons of meringue powder
- 1/4 teaspoon of vanilla extract
- 1/4 teaspoon of lemon extract
- 2 cups natural sugar substitute, like Truvia or agave
- 1/4 cup of lukewarm water
- Food coloring (various colors)
Directions
1. Make the Xylitol cookies
2. With a whisk or mixer, combine the sugar substitute and meringue powder.
3. Mix in the vanilla and lemon extract
4. Add the water. Beat for a few minutes, until peaks form.
5. Divide icing into bowls and add desired food coloring (1-2 drops per color).
6. Transfer to a pastry bag and decorate!
Which DIY is your family most excited to try?